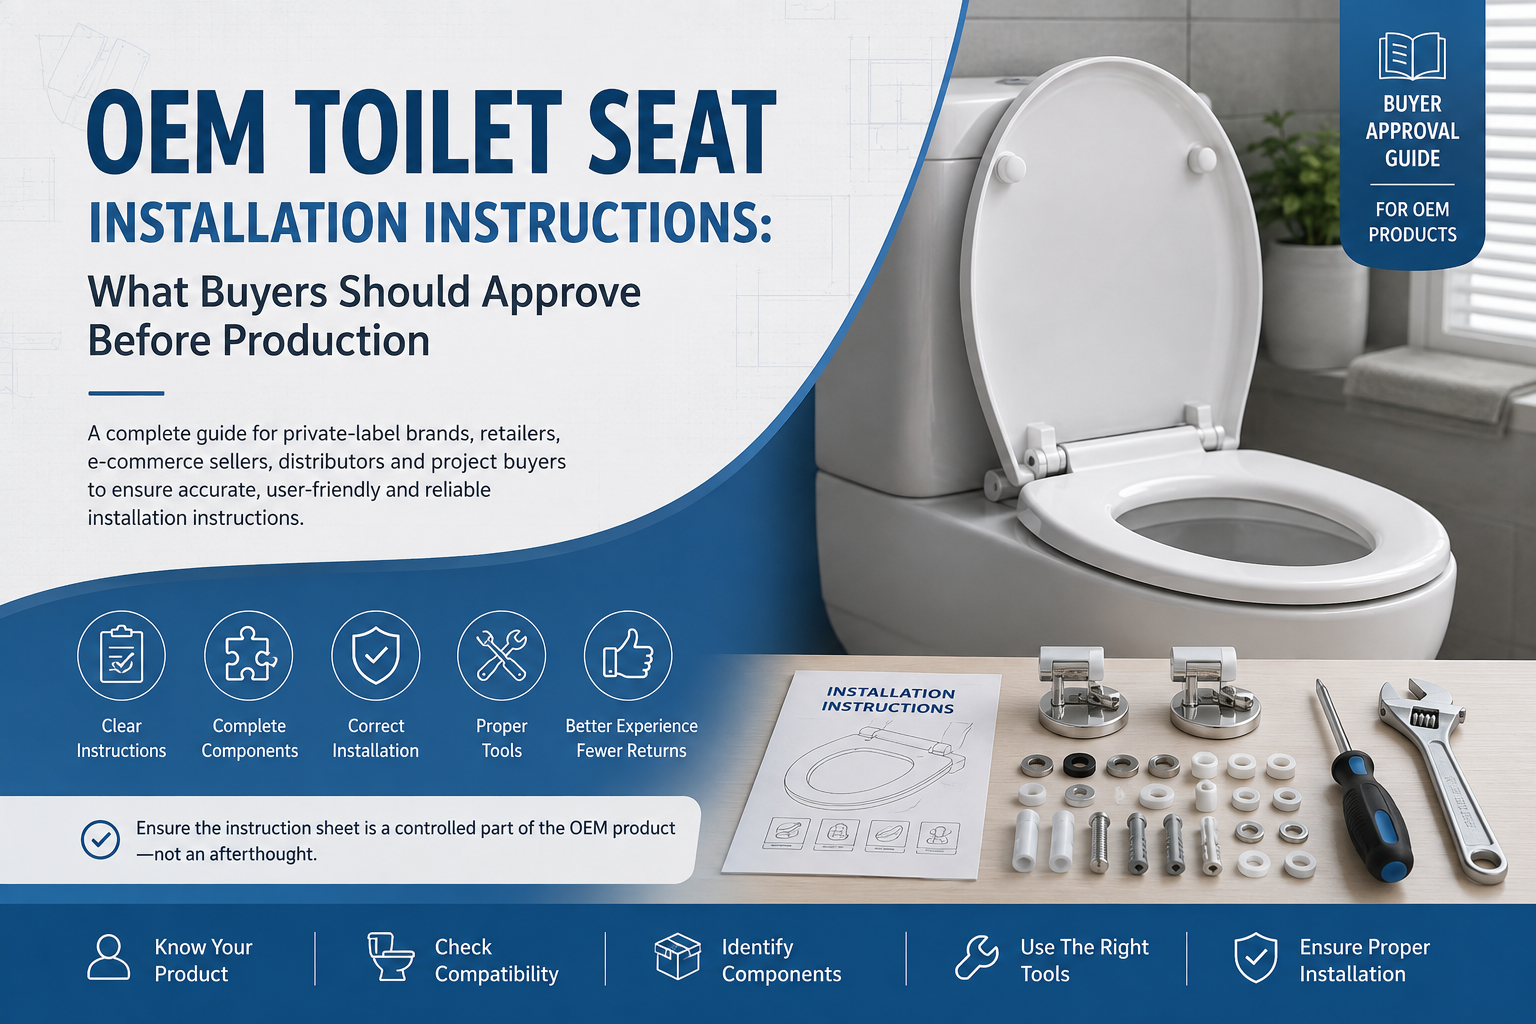
OEM Toilet Seat Installation Instructions: What Buyers Should Approve Before Production
A toilet seat may be manufactured correctly and supplied with every required component, yet still generate returns if the installation instructions are incomplete, inaccurate or difficult to understand.
This problem is particularly important for private-label brands, retailers, e-commerce sellers, distributors and project buyers. The end user or installer may have no direct contact with the manufacturer. The instruction sheet becomes the main connection between the approved product design and the actual installation.
Generic instructions are often insufficient because toilet seats may use different:
- Top-fix and bottom-fix systems
- Plastic and metal hinges
- Standard-close and soft-close mechanisms
- Fixed and quick-release structures
- Expansion plugs
- Bolt and washer arrangements
- Hinge-adjustment methods
- Ceramic-bowl shapes
- Installation tools
The buyer should therefore treat the instruction sheet as a controlled part of the OEM product—not as a decorative insert added after production.
Start With the Exact Product Configuration
Installation instructions should be written for the product that will actually be supplied.
Before artwork begins, freeze:
- Buyer SKU
- Factory model
- Seat material
- Product shape
- Product dimensions
- Hinge code
- Fixing method
- Fixing-kit contents
- Soft-close function
- Quick-release function
- Required installation tools
- Packaging contents
- Intended ceramic type or compatibility range
Instructions developed from a similar product can create serious confusion.
For example, a diagram showing a top-fix expansion plug is unsuitable if the supplied product requires access underneath the ceramic. A quick-release button shown in the artwork must also match the actual mechanism.
BOFAN’s guide to choosing the right toilet seat hinge explains why the hinge and fixing configuration must be identified before product approval.
Define the Intended Installer
The instruction format should reflect who will install the product.
Possible users include:
- Homeowners
- Tenants
- Retail customers
- Professional plumbers
- Hotel maintenance teams
- Construction installers
- Property-management technicians
- Distributor after-sales teams
A consumer retail product normally needs simple diagrams, limited technical language and clear component identification.
A project installation guide may additionally require:
- Product and ceramic model references
- Installation sequence across multiple rooms
- Approved tightening method
- Inspection checkpoints
- Installer sign-off
- Batch or project-phase identification
- Maintenance and replacement information
Do not assume every installer has previous toilet seat experience.
Show All Included Components
The first section should present a complete component map.
Depending on the product, it may show:
- Seat and lid assembly
- Left and right hinges
- Hinge bases
- Decorative covers
- Dampers
- Fixing bolts
- Washers
- Nuts
- Expansion plugs
- Rubber sleeves
- Mounting plates
- Adjustment discs
- Installation tool
- Quick-release components
Each part should have a consistent name or reference number.
Avoid vague labels such as:
- “Plastic part”
- “Metal screw”
- “Small ring”
- “White fitting”
- “Other accessory”
These descriptions make it difficult for customers and after-sales teams to identify missing or incorrectly assembled parts.
Where several fixing kits are available, each instruction revision should clearly state which kit it covers.
Include a Pre-Installation Compatibility Check
Users should confirm compatibility before fully tightening the product.
The pre-installation section may ask the installer to check:
- Toilet-bowl shape
- Distance between mounting holes
- Bowl length and width
- Access above or below the mounting area
- Hinge adjustment range
- Mounting-hole diameter
- Rear ceramic platform
- Buffer contact area
- Seat overhang and underhang
- Correct product and fixing kit
A product described as adjustable or broadly compatible still has defined dimensional limits.
The instructions should not use an unsupported claim such as “fits all toilets” unless that statement is technically justified for the intended market.
BOFAN’s article on how to choose the right toilet seat shape can be linked through a QR code or online support section where appropriate.
Identify Required Tools
State which tools are required and which are included.
Possible tools include:
- Screwdriver
- Adjustable wrench
- Spanner
- Measuring tape
- Protective cloth
- Installation tool supplied with the fixing kit
If tightening must be performed by hand or with a specific supplied tool, say so clearly.
The instructions should also warn against:
- Using an impact driver where inappropriate
- Overtightening fixings
- Using incorrect replacement bolts
- Forcing the quick-release mechanism
- Installing damaged parts
- Standing on the seat or lid
- Modifying hinges without authorization
Warnings should be specific to the actual product and intended market.
Present the Installation in a Clear Sequence
Every step should show one main action.
A practical structure may be:
Step 1: Identify the fixing method
Confirm whether the ceramic requires top or bottom access and verify that the supplied fixing kit is correct.
Step 2: Prepare the hinge bases
Place the washers, adjustment plates or expansion plugs in the correct orientation.
Step 3: Position the fixings
Insert the fixings into the ceramic mounting holes without fully tightening them.
Step 4: Attach or position the seat
Connect the seat to the hinge bases using the product-specific method.
Step 5: Align the seat
Center the seat on the bowl and check front and side alignment.
Step 6: Check buffer contact
Confirm that the buffers contact suitable ceramic surfaces and that the seat does not rock.
Step 7: Tighten the fixings
Tighten gradually and evenly according to the approved installation method.
Step 8: Check stability
Move the seat carefully from side to side and correct the alignment if necessary.
Step 9: Test the functions
Check opening, closing, soft-close and quick-release functions where included.
Step 10: Complete the final check
Confirm that all covers are installed, tools are removed and the product operates as intended.
These are general stages. The final instruction must use the sequence required by the selected hinge and fixing system.
Explain Alignment Before Final Tightening
Many installation complaints begin because the installer tightens the hinges before positioning the seat correctly.
The instructions should explain how to check:
- Centering on the ceramic
- Front overhang
- Side overhang
- Lid clearance
- Seat-to-bowl alignment
- Hinge-base position
- Buffer contact
- Movement after tightening
Where the hinge offers forward, backward or side adjustment, the diagram should show the direction and range of adjustment.
A single arrow without an explanation may not be enough for an unfamiliar installer.
Explain Soft-Close Operation Correctly
Soft-close products require clear usage information.
The instructions should state:
- Whether the seat, lid or both are soft closing
- That the product should be allowed to close naturally
- That the user should not force the seat downward
- That closing behavior should be checked after installation
- Whether temperature or product configuration may affect closing behavior
- Which actions are normal and which require support
Avoid promising one universal closing time unless the product has an agreed measurable requirement.
If soft-close performance is part of the buyer’s inspection standard, the approved reference should match the final product configuration.
Buyers can review BOFAN’s soft-close toilet seat range when selecting suitable product and hinge configurations.
Explain the Quick-Release Function
A quick-release seat should show:
- Location of the button or release mechanism
- Correct direction of movement
- Whether the lid must be open or closed
- Whether one or two buttons are used
- How to lift the product safely
- How to reinstall it
- How to confirm that it has locked correctly
The instructions should warn users not to pull the product forcibly if the release step has not been completed.
After reinstallation, the user should check that the seat is fully engaged and stable before use.
BOFAN’s quick-release toilet seat range includes configurations that should be matched with model-specific instruction artwork.
Add a Troubleshooting Section
A short troubleshooting table can reduce unnecessary returns.
| Reported issue | Points to check |
|---|---|
| Seat moves sideways | Hinge position, fixing tightness, washer orientation and ceramic compatibility |
| Seat is not centered | Hinge adjustment and alignment before final tightening |
| Fixing will not tighten | Correct fixing kit, ceramic access and component assembly |
| Quick release does not operate | Correct release sequence and full button engagement |
| Seat will not reinstall | Hinge-base alignment and locking position |
| Soft close appears too fast | Correct product configuration, installation and approved performance reference |
| Parts appear to be missing | Compare contents with the component map |
| Seat does not match the bowl | Product shape, dimensions and mounting-hole spacing |
Troubleshooting should help the user identify possible causes without encouraging unsafe disassembly.
Where the issue cannot be resolved, provide a clear contact route and list the information the customer should submit.
Include Care and Cleaning Guidance
Installation instructions may also include basic product care.
The guidance should match the selected material and finish.
Possible points include:
- Use a soft cloth
- Use suitable mild cleaning products
- Avoid abrasive pads
- Avoid unauthorized solvents or aggressive chemicals
- Do not force the soft-close mechanism
- Check fixing stability periodically
- Follow approved maintenance instructions
- Do not use the seat or lid as a step
Do not copy one cleaning statement across PP, UF and MDF products without reviewing whether it is suitable.
Control Languages and Translations
The buyer should define required languages before artwork approval.
For every translation, control:
- Product name
- Component names
- Installation verbs
- Warning statements
- Material description
- Soft-close terminology
- Quick-release terminology
- Top-fix and bottom-fix terminology
- Cleaning guidance
- Warranty contact information
Use one approved terminology list across:
- Packaging
- Product listing
- Installation instructions
- Spare-parts guide
- Customer-service scripts
- Website support pages
Machine-translated technical instructions should be reviewed by a qualified language user familiar with the intended market.
Design for Readability
The instruction sheet should remain readable after printing and folding.
Check:
- Font size
- Contrast
- Diagram size
- Line weight
- Number sequence
- Arrow direction
- White space
- Paper size
- Fold position
- Print quality
- Language separation
- QR-code readability
- Contact-information accuracy
Do not approve the instruction only as a large screen file. Print it at the final production size.
A clear diagram is usually more useful than a long paragraph, but diagrams must show the correct product and component orientation.
Use Version Control
Every instruction file should have:
- Buyer SKU
- Factory model
- Hinge or fixing-kit reference
- Language
- Revision number
- Issue date
- Approval status
- Approver
- Replacement history
Recommended statuses include:
- Draft
- Under review
- Approved for sample
- Approved for production
- Obsolete
When a hinge, fixing kit or product structure changes, review whether the instruction must also change.
Old instructions should be removed from the active production and packing area.
Approve a Physical Packed Sample
The buyer should approve more than a PDF.
A packed-sample review should confirm:
- Correct product
- Correct fixing kit
- Correct instruction revision
- All components shown are included
- All included components are shown
- Diagrams match the physical hardware
- Installation sequence works
- Text remains readable after printing
- Instruction fits inside the packaging
- QR codes and links work
- Product and packaging SKUs match
Ideally, a person unfamiliar with the product should install the sample using only the supplied instructions. Their questions can reveal gaps that engineers or experienced factory staff may overlook.
Inspect Instructions During Production
Final inspection should check:
- Correct instruction revision
- Correct language
- Correct SKU
- Correct quantity
- Legible printing
- Complete pages
- Proper folding
- Correct placement inside the package
- No obsolete inserts
- Match between instructions and fixing kit
BOFAN’s Toilet Seat Packaging Guide for Retail and E-Commerce Buyers explains why instructions, hardware, artwork and physical protection should be approved as one packaging system.
Installation-Instruction Approval Checklist
Before production, confirm:
- The exact product and hinge configuration is frozen.
- The intended installer has been identified.
- Every component is shown and named.
- Required and included tools are listed.
- Ceramic compatibility is explained.
- Top-fix or bottom-fix access is clear.
- Installation steps are presented in the correct sequence.
- Alignment occurs before final tightening.
- Soft-close operation is explained accurately.
- Quick-release removal and reinstallation are shown.
- Troubleshooting is product specific.
- Care instructions match the material.
- All translations have been reviewed.
- The printed format is readable.
- The file has a revision number.
- A physical packed sample has been approved.
- Final inspection checks the instruction revision.
How BOFAN Supports Instruction Development
BOFAN can coordinate available product, hinge, fixing and packaging information for approved OEM toilet seat programs.
Depending on the product and order, support may include:
- Component identification
- Hinge and fixing-kit confirmation
- Installation-sequence review
- Product and packaging coordination
- Instruction artwork information
- Packed-sample preparation
- Instruction-revision control
- Final packing inspection
The buyer remains responsible for approving the final language, market-specific warnings, legal requirements and customer-service information.
BOFAN supports supermarkets and retail chains, projects and contractors, and OEM brands and sanitary ware companies.
CTA
Developing instructions for a private-label toilet seat? Send BOFAN your selected model, hinge, fixing kit, target market, required languages and packaging format. The team can help review the product-specific installation content before production.
Request an Installation-Instruction Review
FAQ
What should toilet seat installation instructions include?
They should include component identification, required tools, compatibility checks, fitting sequence, alignment, tightening, function testing, troubleshooting and care guidance.
Can one instruction sheet cover several toilet seat models?
Only when the products use the same relevant installation components and sequence. Differences in hinges, fixings or release mechanisms must be explained clearly.
Should top-fix and bottom-fix instructions be different?
Yes, unless one controlled guide clearly separates both systems. The installer must understand whether access below the ceramic is required.
How should soft-close operation be explained?
State whether the seat, lid or both are soft closing and instruct the user to allow the mechanism to close naturally without forcing it downward.
Do private-label instructions need the buyer’s contact information?
That depends on the buyer’s customer-service and market requirements. The responsible contact route should be agreed before artwork approval.
Should instructions be tested with a real installation?
Yes. A user who is unfamiliar with the product should be able to complete the installation using the supplied components and instructions.
When must an instruction revision be updated?
Review it whenever the product, hinge, fixing kit, component contents, installation sequence, language or customer-support information changes.
Can BOFAN prepare multilingual instructions?
BOFAN can coordinate product and component information for suitable projects. The buyer should approve the final translation, terminology and destination-market requirements.
Table of Contents
- OEM Toilet Seat Installation Instructions: What Buyers Should Approve Before Production
- Start With the Exact Product Configuration
- Define the Intended Installer
- Show All Included Components
- Include a Pre-Installation Compatibility Check
- Identify Required Tools
- Present the Installation in a Clear Sequence
- Explain Alignment Before Final Tightening
- Explain Soft-Close Operation Correctly
- Explain the Quick-Release Function
- Add a Troubleshooting Section
- Include Care and Cleaning Guidance
- Control Languages and Translations
- Design for Readability
- Use Version Control
- Approve a Physical Packed Sample
- Inspect Instructions During Production
- Installation-Instruction Approval Checklist
- How BOFAN Supports Instruction Development
-
FAQ
- What should toilet seat installation instructions include?
- Can one instruction sheet cover several toilet seat models?
- Should top-fix and bottom-fix instructions be different?
- How should soft-close operation be explained?
- Do private-label instructions need the buyer’s contact information?
- Should instructions be tested with a real installation?
- When must an instruction revision be updated?
- Can BOFAN prepare multilingual instructions?